How to setup your pfSense VM system. This guide will show you how to configure the virtual machine before running the pfSense iso. Part 2 will walk you thru the installation and configuration of pfSense.
You can download pfSense using this link:
You can download VMware Workstation Pro 12 using this link:
Step 1.
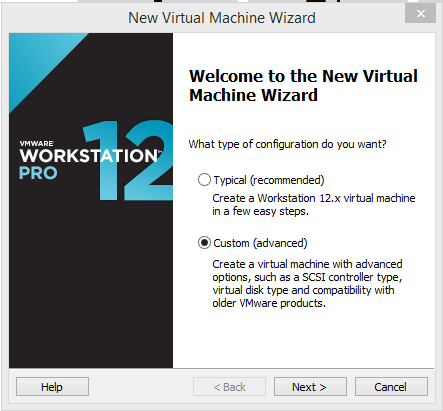
Installing pfSense. You can use the “Typical (recommended)” option, but I like to use the “custom (advanced)” option so I can build the virtual machine and install the operating system later.
Step 2.
Click “Next”.
Step 3.
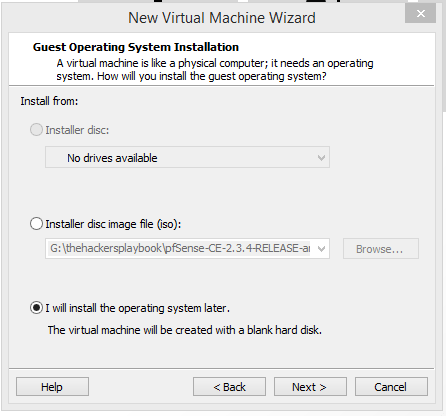
Select the option “I will install the operating system later”.
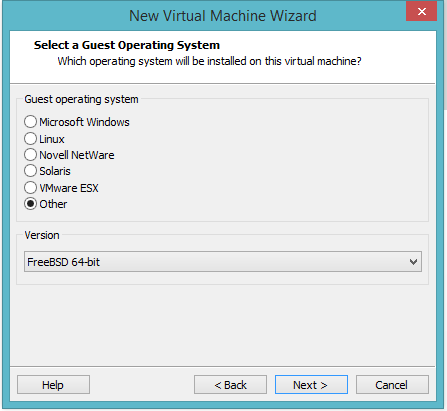
Step 4.
Select “other” and version “FreeBSD 64bit”, this is depending on your hardware, I hope you are not still running 32 bit hardware. 😉
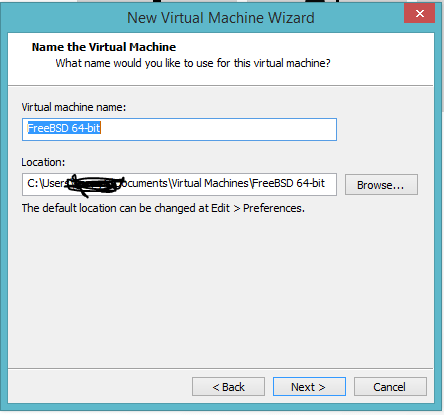
Step 5.
Select the Name for your virtual machine and the directory you want it installed.
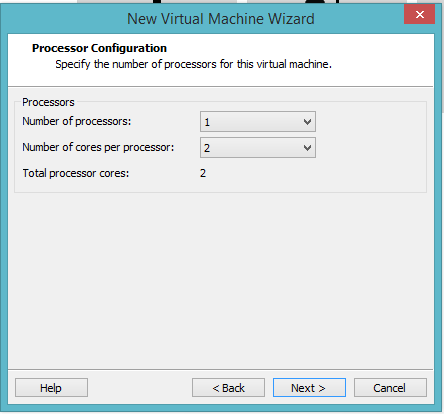
Step 6.
Select the number of processors and cores you would like to use. This is all dependent on the type of hardware you have setup on system.
Step 7.
Set the memory to 512MB or whatever you would like depending on the RAM on your system.

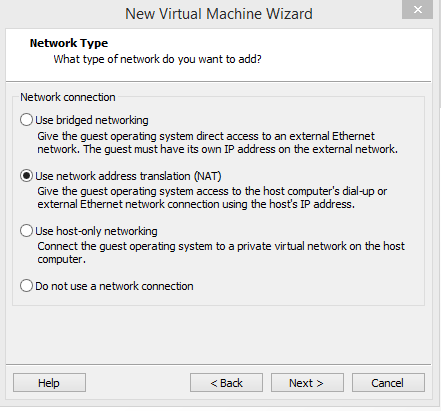
Step 8. (Very Important)
Leave the “Network Type” to NAT.
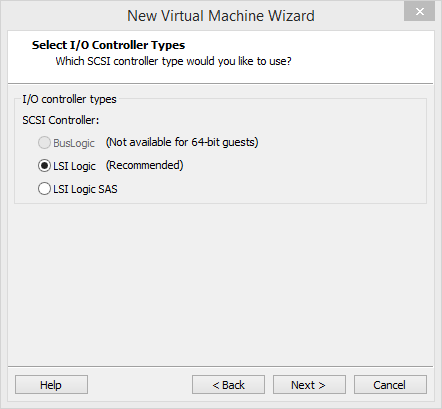
Step 9.
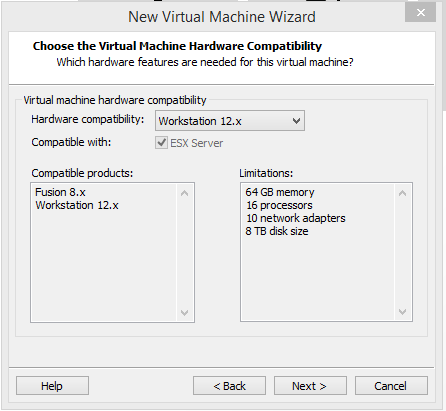
The following options can be left at default, “next”, “next”, “next”.


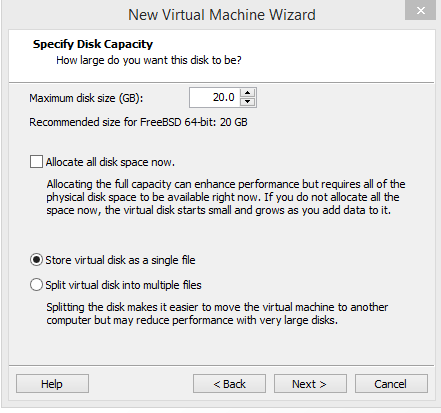
Step 10.
Store the virtual disk as a single file and at 20.0 GB or whatever you would like depending on your hard drive space.
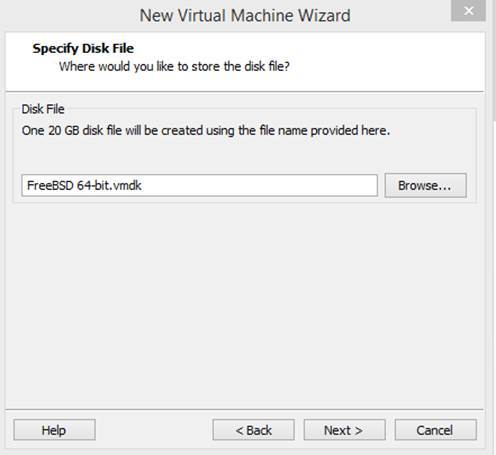
Step 11.
Click “next” unless you want to specific another name for the vmdk, which I left at default in my screen shot.
Step 12.
Click on “Customize Hardware” which will allow you add or remove what is needed. In my setup I left it as default, I will be adding additional network interfaces after installing the pfSense software. Others have removed the USB Controller, and Printer which is really not needed for this setup.

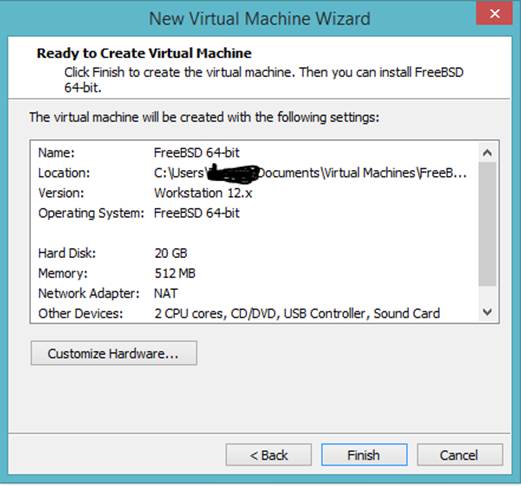
Step 13.
You should see the settings you have configured for your virtual machine, you can click on “finish” to build the virtual machine.