Once you have setup the virtual machine for pfSense, we can install and configure pfSense. We will be configuring the WAN Interface only in this setup and once we have it configured, we will be setup the LAN interface.
Step 1.
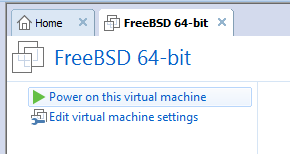
Click on the option “Edit virtual machine settings”
Step 2.
Select “CD/DVD (IDE)” and then select “Use ISO image file” and get the pfSense iso file you downloaded in “pfSense VM Setup – Part 1”.

Step 3.
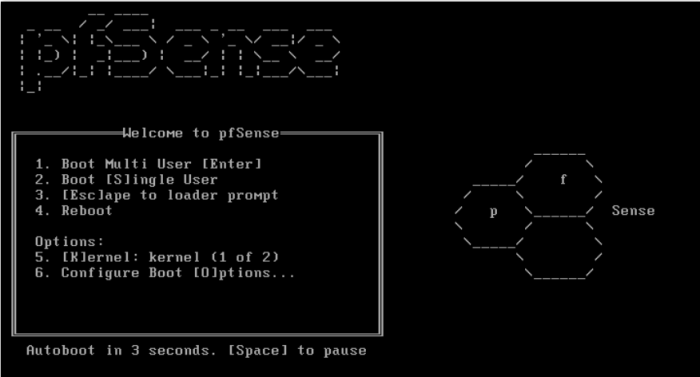
Click “OK” on the Virtual Machine Settings window and power on your pfSense virtual machine. Continue past the “Welcome to pfSense” splash screen.
Step 4.
Select the letter ( i ) to run the installer of pfSense.

Step 5.
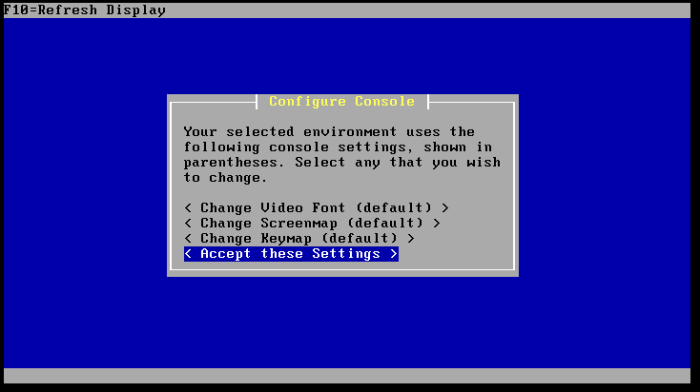
Select the default option, “Accept these Settings”.
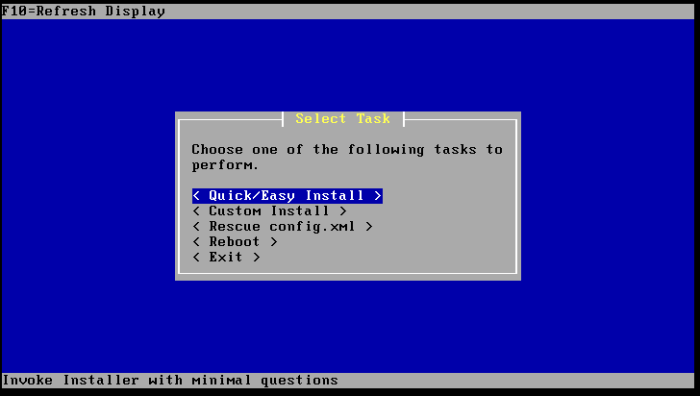
Step 6.
Select “Quick/Easy Install”.
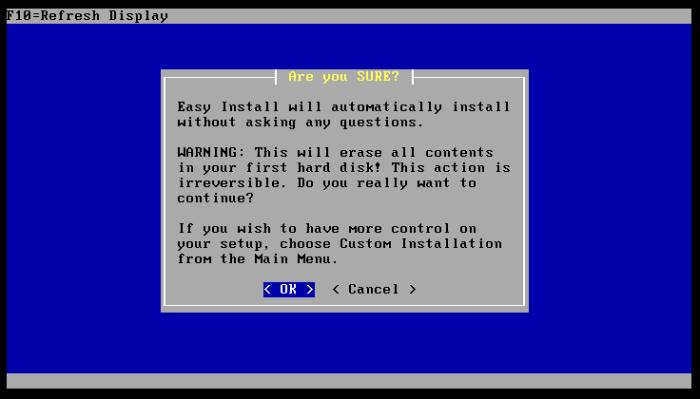
Step 7.
Select “OK”.
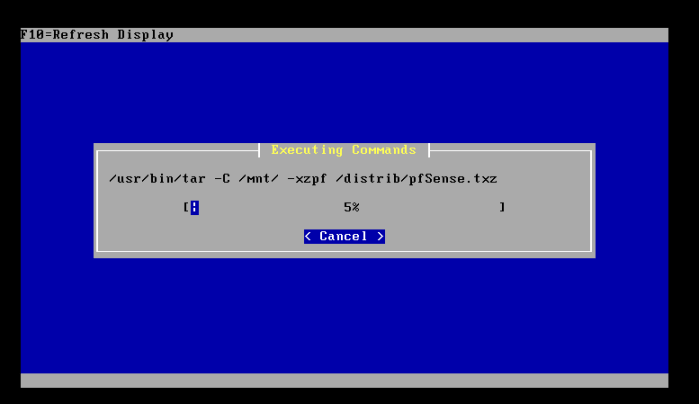
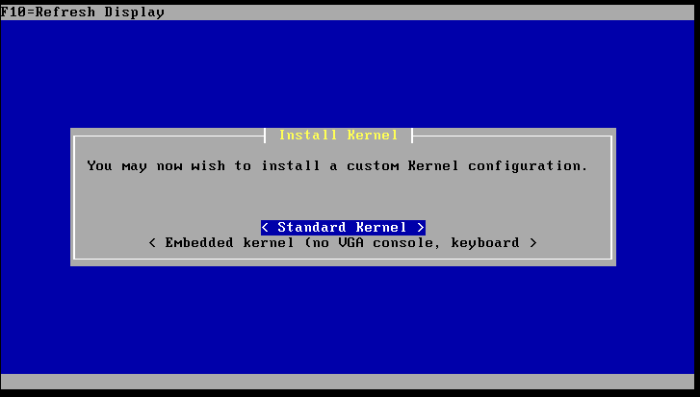
Step 8.
The installation will start, select “Standard Kernel” and let it continue with the installation. Once the installation is done, select “Reboot”.

Step 9.
The installation has completed, select “N” for NO when asked “Should VLANs be setup now. You can configure the VLAN’s thru the web interface.
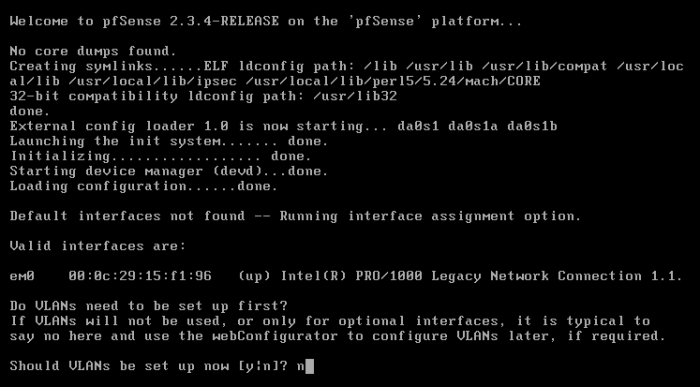
Step 10.
Select “a” to auto detect the WAN interface, if this does NOT work, enter the interface name ‘em0’ a shown in the screen shot.
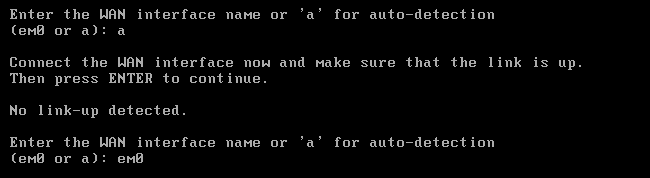
Step 11.
At this point the WAN Interface is setup, and we are asked to configure the LAN Interface. We have NOT added an additional Virtual Network Interface, we cannot setup the LAN Interface, just hit enter.

Step 12.
The WAN configuration will be setup on the “em0” interface. Select “y” for yes.
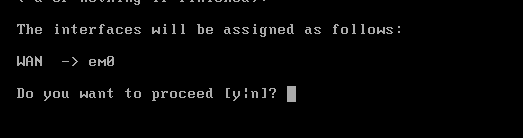
The setup process will continue……………..
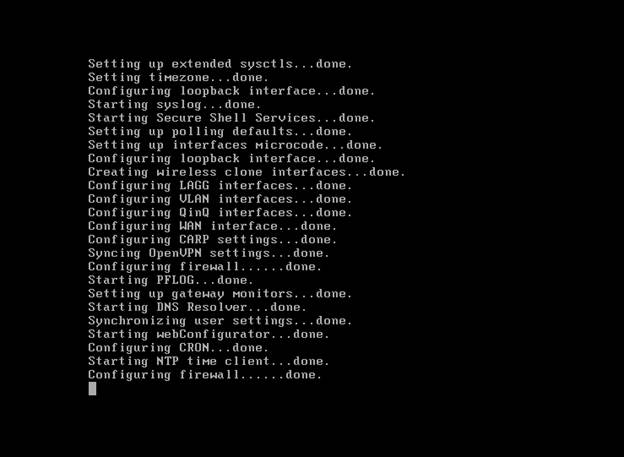
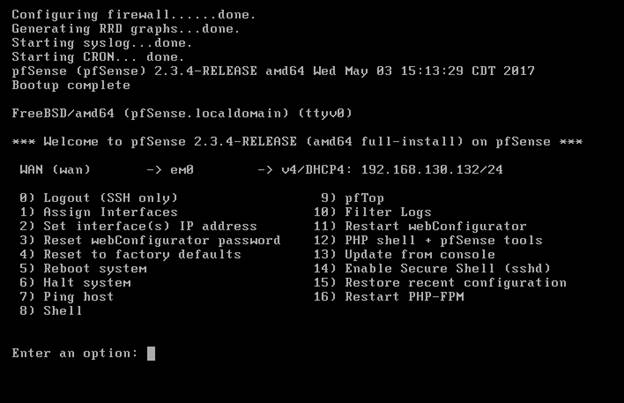
Step 13.
Once the configuration has finished you will be see the screen below.